Submit Your Request
Please fill out the form below.
Please fill out the form below.
Need a custom solution?

When it comes to DC motor repair and rebuilding, you might think it’s a complicated task best left to professionals. However, with the right guidance and knowledge, tackling this project can be more achievable than you imagine.
By understanding the key components and following a systematic approach to diagnosing and repairing common issues, you’ll be on your way to restoring your DC motor to optimal performance.
Stay tuned to discover the essential steps and tips for successfully repairing and rebuilding DC motors.
To understand DC motor components thoroughly, focus first on the core elements that make up the motor’s structure and functionality. Starting with motor construction, a DC motor consists of two main parts: the stator and the rotor. The stator is the stationary part of the motor, typically made of coils of wire that produce a magnetic field when electricity passes through them. The rotor is the rotating part of the motor, usually connected to the shaft, which interacts with the magnetic field produced by the stator to generate motion.
Moving on to electrical connections, DC motors require proper wiring to function efficiently. The electrical connections in a DC motor typically involve connecting the stator coils to a power source through a commutator and brushes. The commutator is a crucial component that ensures the flow of electricity to the stator coils in the correct sequence, allowing the motor to rotate smoothly. Understanding the motor construction and electrical connections is fundamental in troubleshooting and maintaining DC motors.
Identifying common motor issues is crucial for efficient troubleshooting and maintenance of DC motors. When faced with motor problems, utilizing effective troubleshooting techniques is key to resolving issues promptly.
Common motor issues include overheating, excessive noise, erratic speed control, and sudden stops. To diagnose overheating, check for obstructions in the motor airflow, clean ventilation openings, and ensure proper lubrication.
Excessive noise could indicate worn bearings or misaligned motor components, requiring inspection and potential replacement. Erratic speed control may stem from faulty wiring or damaged electronic components, necessitating thorough electrical testing.
Sudden stops might be caused by mechanical blockages or worn brushes, which can be identified through visual inspection and testing. To prevent these issues, regular motor maintenance strategies such as cleaning, lubrication, and electrical checks are vital.
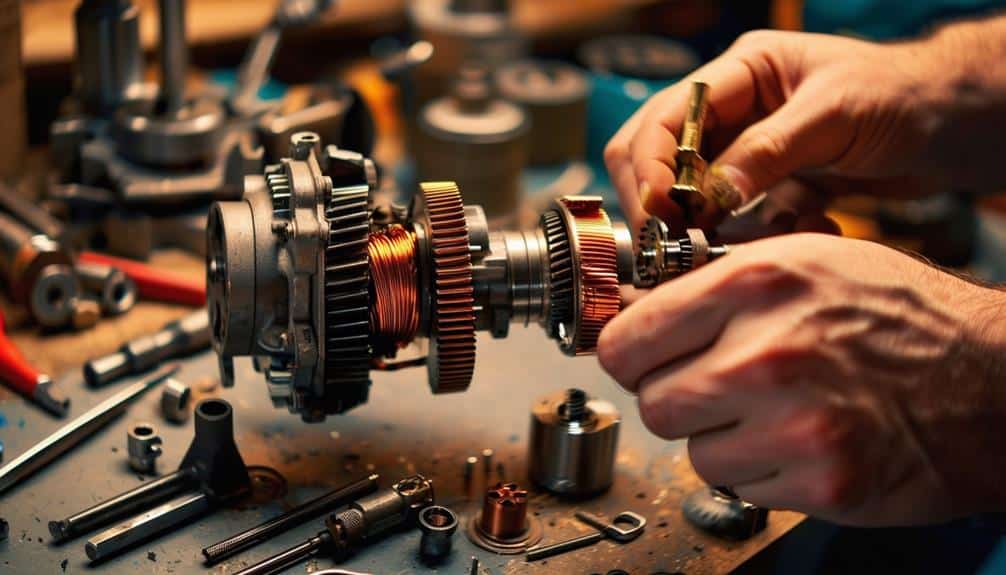
When disassembling the DC motor for repair or maintenance, start by removing the outer casing and exposing the internal components for inspection. Begin by disconnecting the power supply and any wiring connected to the motor. Use appropriate tools to carefully unscrew and remove the bolts or screws holding the casing in place. Once the casing is off, take note of the arrangement and placement of components inside the motor. Inspect for any visible signs of damage such as burnt coils, worn brushes, or loose connections.
As you proceed with motor disassembly, it’s crucial to document each step and keep track of the disassembled parts to aid in reassembly later. Pay close attention to the order in which components are removed to simplify troubleshooting and reinstallation. Remember to follow safety precautions and handle delicate parts with care to prevent further damage.
Inspect the disassembled components of the DC motor to determine whether repair or replacement is necessary. Begin by examining the motor brushes for signs of wear or damage. If the brushes appear worn down or have uneven edges, consider replacing them to ensure proper contact with the armature.
Next, assess the armature for any broken or damaged windings. Repair any broken windings by carefully soldering them back together.
Moving on to the commutator, check for dirt, debris, or signs of wear. Clean the commutator using a fine abrasive material, making sure it’s smooth and free of any imperfections that could affect motor performance.
Additionally, inspect the motor windings for any visible damage, such as burnt or broken wires. If any issues are found, consider rewinding the motor to maintain efficiency.
To ensure the DC motor functions optimally after repair or replacement of parts, the next step involves meticulously rebuilding and rigorously testing the motor for performance and efficiency.
To prevent your DC motor from overheating during operation, ensure proper cooling methods such as ventilation and heat sinks. Additionally, employ effective insulation techniques to reduce heat transfer. Regular maintenance and monitoring of temperature levels are essential for optimal motor performance.
To prolong your DC motor’s lifespan, regularly perform maintenance tasks like checking for overheating, ensuring optimal voltage and current ratings, and implementing safety precautions. These preventative measures not only enhance performance but also extend its operational efficiency.
When working on a DC motor, ensure proper ventilation to prevent fume inhalation and always wear personal protective equipment like gloves and safety goggles to shield against potential hazards. Safety first for a successful repair job.
You can upgrade your DC motor to enhance performance. Improvements like rewinding coils, using higher-grade magnets, or optimizing ventilation can boost motor efficiency. Consider consulting with experts for specific upgrade recommendations tailored to your motor.
To determine the appropriate voltage and current ratings for your DC motor, consider its specifications and operational requirements. Voltage selection impacts speed, while current optimization affects torque. Balancing both enhances efficiency and power output for optimal performance.
In conclusion, repairing and rebuilding DC motors requires a thorough understanding of the components, diagnosing common issues, disassembling the motor, repairing or replacing parts, and finally rebuilding and testing the motor.
By following these steps carefully and accurately, you can ensure the motor functions properly and efficiently. Remember to always prioritize safety and quality workmanship when working on DC motors.